
“`html
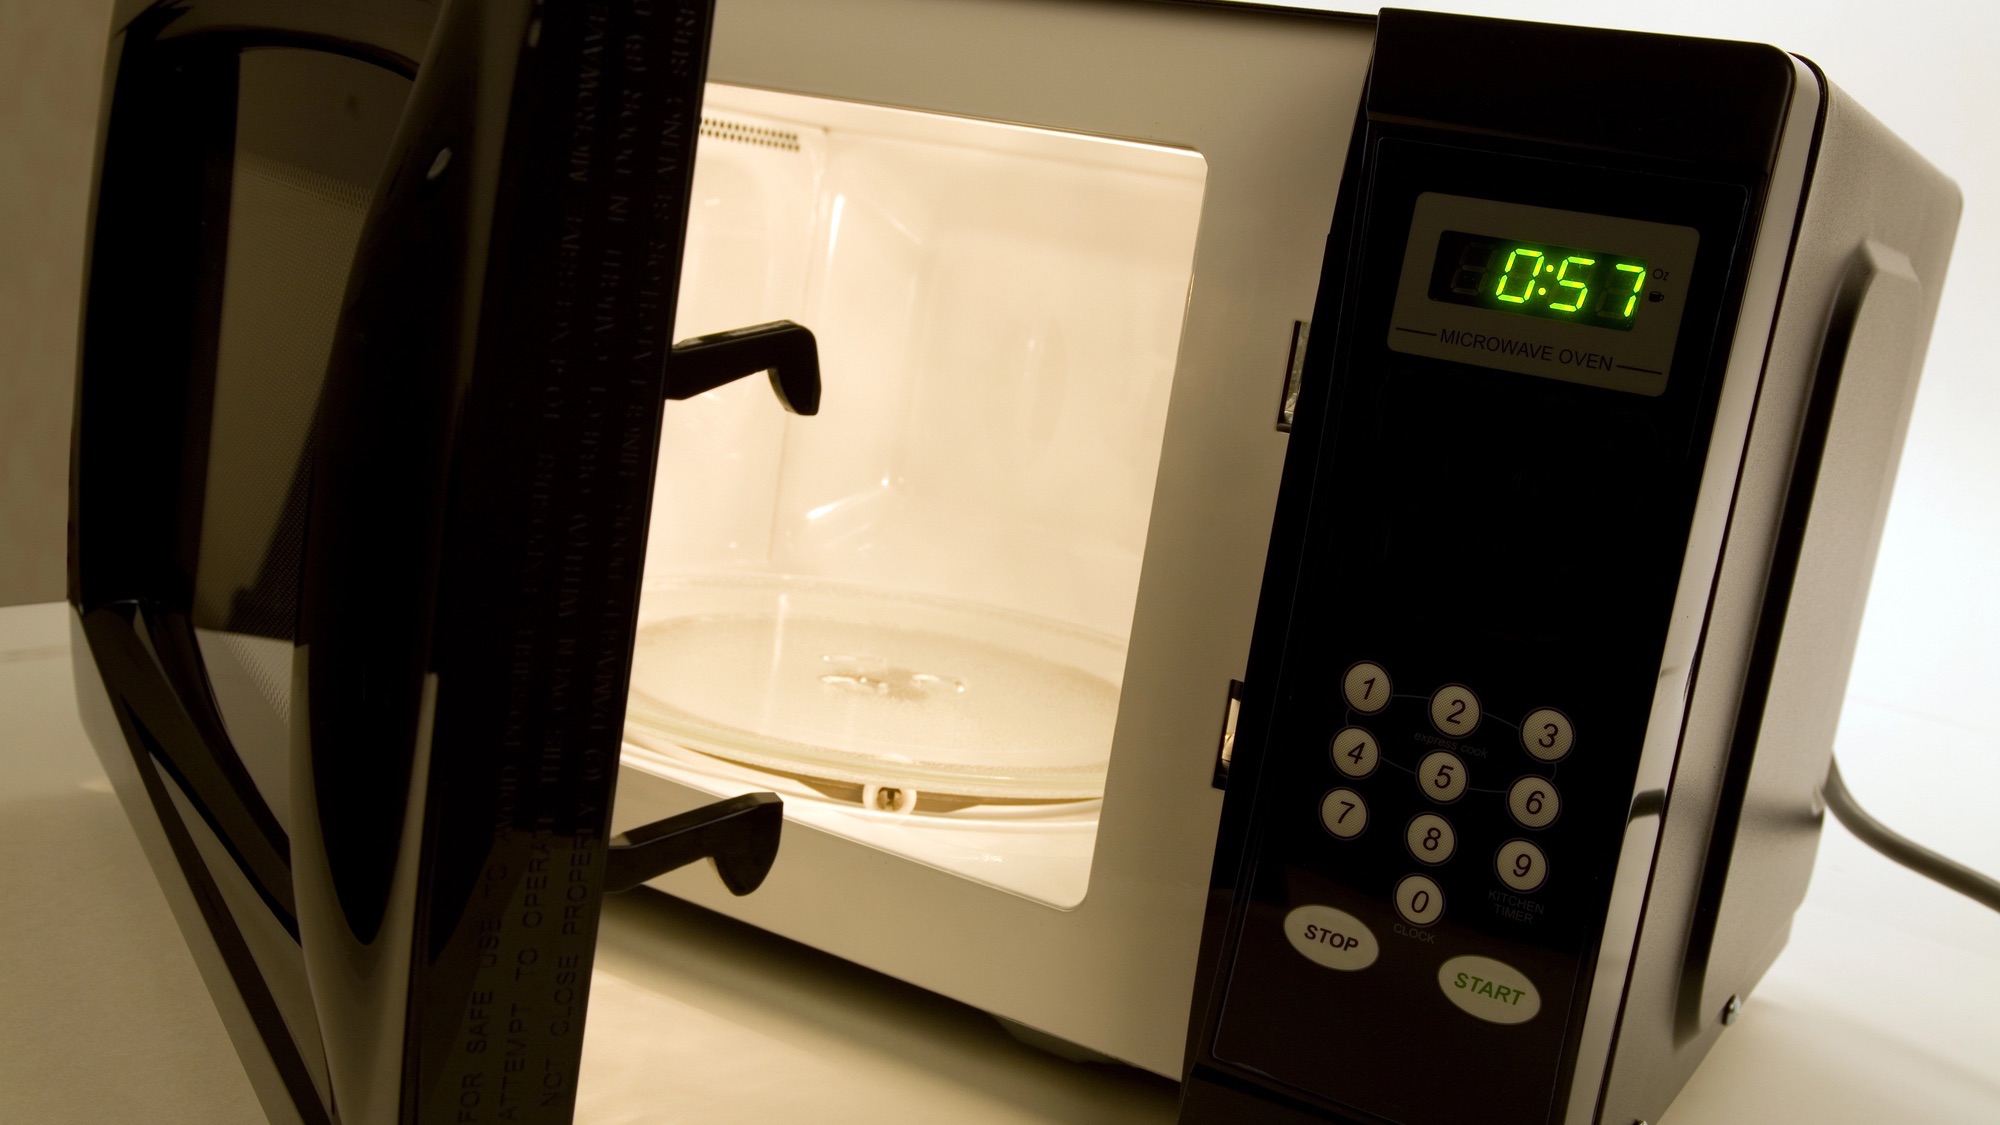
Cleaning your microwave is often neglected in household chores—unless you’ve just dealt with a messy incident like a soup spill or melted butter. This appliance tends to be overlooked until there’s an obvious mess. However, even minor spills can be deceptive; while it may seem that no germs can survive the radiation, that’s not entirely true.
Your microwave has its own unique set of microorganisms. What does this imply? While it’s commonly believed that microwaves eliminate bacteria and ensure food safety, research from the Institute for Integrative Systems Biology indicates that certain microbes can endure radiation and even thrive in specific areas within the appliance. There’s no need for alarm; your microwave isn’t any more contaminated than other kitchen surfaces. Nonetheless, these insights highlight the importance of regular cleaning to uphold hygiene standards in your microwave. The good news is that you can easily clean it using common kitchen items.
Essential Cleaning Supplies
- Water
- White vinegar
- Baking soda
- Sponge or microfiber cloth
- Microwave-safe bowl
- Dish soap
A Comprehensive Cleaning Guide
Step 1: Create Your Cleaning Solution
In a bowl suitable for microwaving, combine equal parts water and vinegar—or use lemon juice instead for a pleasant aroma. For tougher stains or enhanced cleaning power, add a tablespoon of baking soda to the mixture. This solution will help dissolve grime and neutralize odors during cleaning.
Step 2: Heat the Solution in Your Microwave
Place your cleaning solution inside the microwave and heat on high for 3-5 minutes until it boils and produces steam within the unit. After heating, keep the door closed to allow steam to circulate inside; this will help loosen any accumulated grime and food particles on interior surfaces.
Step 3: Clean Inside Your Microwave
After allowing time for steaming, open the door carefully and remove the turntable to wash separately in your sink. Use a sponge or soft cloth to wipe down all interior surfaces thoroughly—pay special attention to areas like walls, ceiling, and beneath where the turntable sits as they often collect residue.
Step 4: Wash The Turntable
Cleanse the turntable with dish soap mixed with warm water in your sink; scrub well enough to eliminate any lingering food bits or sticky residues. Once cleaned, dry it completely with a towel or let it air dry before placing it back into position inside your microwave.
Step 5: Remove Stubborn Stains
For persistent stains remaining after initial cleaning efforts, create a paste using baking soda mixed with minimal water then apply directly onto those spots allowing it sit for about 5-10 minutes before scrubbing away—the baking soda works effectively at breaking down tough grime.
Cleansing The Exterior Surface
The exterior should also receive attention by wiping down both door handles along with buttons using damp cloths—you may opt for degreasing cleaners such as Simple Green or simply stick with vinegar solutions here too! Focus particularly on handles & buttons which tend accumulate grease & fingerprints over time!
Tips To Prevent Future Messes:< / h3 >
Avoiding large messes is always preferable compared having clean them up later! To minimize splatters & buildup within microwaves cover foods utilizing lids designed specifically safe-for-microwaving purposes (or paper towels) prior heating them up! This simple habit significantly reduces chances encountering messy situations later on! If you forget covering last night’s leftovers don’t fret though—just remember promptly wipe spills immediately after they occur since doing so prevents hardening making removal much easier!
Recommended Frequency For Microwave Cleaning:
Experts suggest deep-cleaning microwaves at least twice weekly;. If yours sees heavy usage frequently cooking splattering foods then consider increasing frequency accordingly! Removing leftover particles helps reduce risk breeding grounds forming bacteria while regularly wiping down post-use makes future deep cleans simpler!


